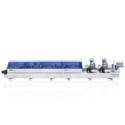
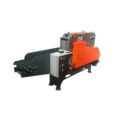
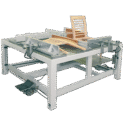
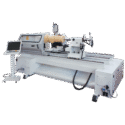
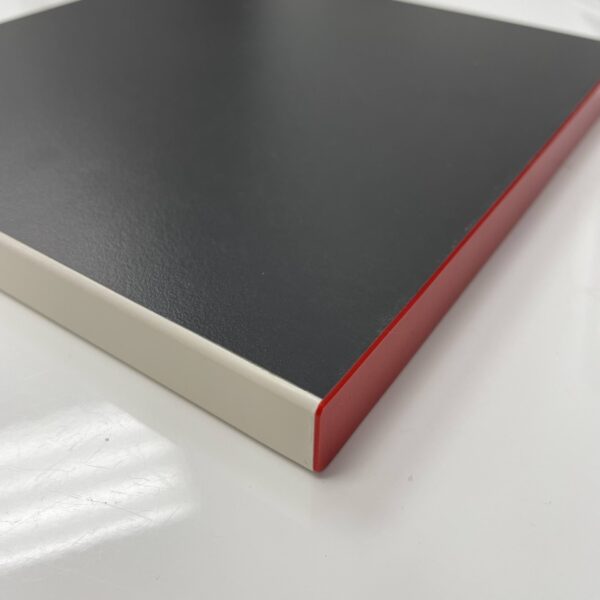
If you are considering remodeling your kitchen, then one of the most important elements that you need to consider is edgebanding. Edgebanding is the process of trimming the edges of the boards and panels used in kitchen designs and cabinets. It provides a finished look to your kitchen, as well as adding strength and durability. Edgebanding can be a tricky process, so it’s important to know the best tips and tricks for achieving the perfect edge. Here, we’ll provide you with some essential edgebanding tips for kitchen remodelers so that you can create the perfect kitchen.
What is edgebanding?
Edgebanding, also known as tongue-and-groove edging or decorative edging, is the process of finishing the edges of your kitchen cabinets or other materials. It is a simple process: simply trim the edges of boards so that they fit together. This creates a strong, durable, and attractive finish on the edges of your boards. Edgebanding is most commonly used in kitchen cabinets, although it can also be applied to other materials, including flooring and wallboard. There are three main types of edgebanding that you can choose from when designing your kitchen: vinyl, rubber, and natural wood. Each of these edgebanding materials has its own pros and cons. For example, vinyl is an affordable option that is easy to install. However, it’s not as durable, long-lasting, or attractive as rubber or wood. Natural wood is a great long-lasting option, but it’s more expensive, and hard to install, particularly if you want a seamless finish. Rubber is a great middle ground between these two options, as it is affordable and easy to install, but also long-lasting and durable.
Benefits of edgebanding
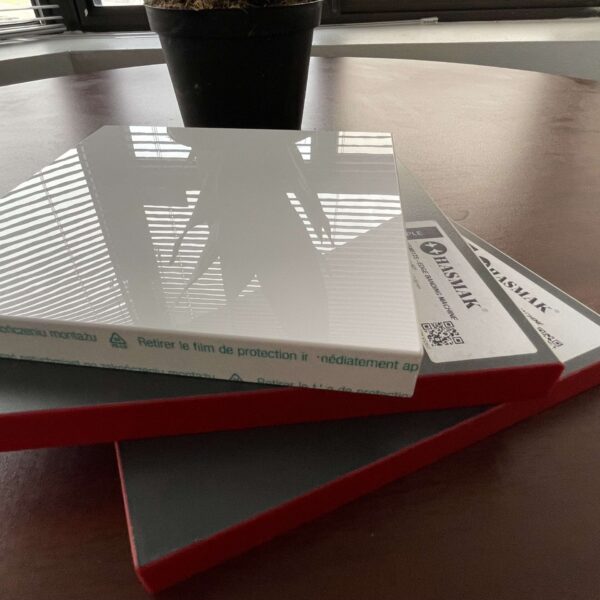
– Improved durability – By finishing the edges of your boards or other materials, you’ll be providing them with added strength and durability. The process of edgebanding helps to strengthen your boards, which will make your kitchen more durable and long-lasting. – Improved aesthetics – Edgebanding provides a professional finish to your kitchen and cabinets. It will give your kitchen a sleek, modern look and will make it the envy of all of your friends. – Improved functionality – By finishing the edges of your cabinets, you’ll be making them more functional. – Cost-effective – Edgebanding is a cost-effective option, while also bringing many benefits. It’s a great way to save money without sacrificing quality.
Types of edgebanding
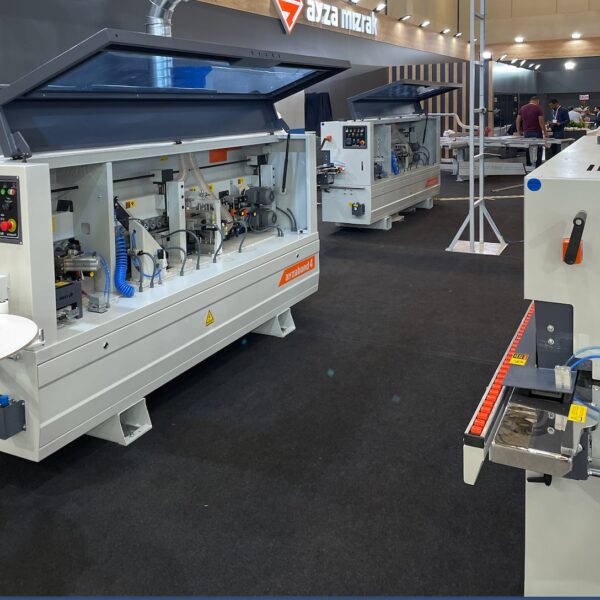
– Vinyl edgebanding – Vinyl edgebanding is the most affordable option, although it’s not as durable or long-lasting as rubber or wood. It’s a synthetic material that’s easy to install and can be applied in a variety of colours. – Rubber edgebanding – Rubber edgebanding is an affordable and durable option. It’s made from a synthetic material and comes in a variety of colours and patterns. – Wood edgebanding – Wood edgebanding is a long-lasting and durable option, but it’s also the most expensive. It’s made from real wood, so it can be applied in a variety of colours and grains.
Edgebanding tools and materials
– Utility knife – The first tool that you’ll need for edgebanding is a utility knife. This is used to trim the edges of your boards and panels. – Table saw – The next tool that you’ll need is a table saw. This is used to cut the edges of your boards. – Jig saw – A jig saw is used to cut curves in your edgebanding. – Power sanders – Power sanders are used to smooth the edges of your boards. – Hammer – A hammer is used to tap the panels or boards together.
Preparing for edgebanding
– Make a plan – First, you should make a plan for which boards and panels you want to edgeband and which edges you want to finish. You can also include measurements and diagrams, as well as information about the materials that you’re using. This will make your job easier. – Have the right tools – Next, you should make sure that you have the right tools for the job. You don’t want to be halfway through edging your boards and realise that you’re missing a crucial piece of equipment. – Mark the edges – Before you begin edging your panels, you should mark the edges. This will ensure that your panels are evenly edged and that your edgebanding fits properly. – Choose the right material – Finally, you should choose the right material for edging your boards. You should match the material of your boards with the intended use for the panels. For example, if you’re edging a panel that will be placed against a wall, you’ll want to use a material that won’t retain moisture and mould.
Applying edgebanding
– Cut the corners – To begin edging your boards, you’ll first want to cut the corners. You’ll want the corners to be cut at 45-degree angles, which will result in a mitered finish. This will create a seamless transition when the panels are placed side-by-side. – Cut the top and bottom edges – You’ll also want to cut the top and bottom edges of your boards. You’ll want the edges to be cut at a 90-degree angle. This will result in a square edge. – Miter the corners – After you’ve cut the corners, you’ll want to miter the corners. This will result in a more attractive edge and will help to strengthen the joints between the panels. – Smooth the edges – Finally, you’ll want to smooth the edges of your boards. You can do this with a power sander or by hand.
Adhesive considerations
The regulations around packaging consumables in Ontario vary by industry. Some industries, such as food and pharmaceuticals, are subject to regulations that require specific types of packaging. Other industries, such as electronics and computers, are subject to regulations surrounding what types of materials cannot be used in packaging. Companies that produce packaging materials may also have their own guide
– Surface preparation – The surface of your boards is an important consideration when choosing an adhesive. For example, if you’re edging a panel that will be placed against a wall, you’ll want to make sure that you’re using an adhesive that won’t retain moisture and mould. – Joint type – You’ll also want to consider the joint type of your boards. For example, if your boards have a butt joint, you’ll want to choose an adhesive that’s designed for that type of joint. – Safety – Finally, you’ll want to consider the safety of your adhesive. It’s important to choose an adhesive that’s safe to use on your boards and won’t impact their durability.
s or standards for their products. Businesses that use packaging materials are advised to review and follow these regulations, guides, and standards to help ensure that their packaging is safe and compliant.
Finishing the edgebanding
– Trim the excess – Once you’ve finished edging your boards, you’ll want to trim the excess. You can do this with a utility knife or a straightedge and a utility knife. – Install the edging – You can install the edging by tapping the panels together. You can also use clamps to make the job easier and faster. – Sand the edging – You can sand the edging with a power sander or a hand sander. – Seal the edging – You can seal the edging with a sealer. This will help to protect it from stains and moisture. – Install the panels – You can install the panels by sliding them into place.
Edgebanding tips and tricks
– Plan ahead – It’s important to plan ahead. You don’t want to start edging your boards only to realise that you’re missing a crucial tool or piece of equipment. This will only result in frustration and delays. – Match the edging to the boards – It’s important to match the edging to the boards. For example, if you’re edging pine boards, you’ll want to use a pine edging. – Consider the joint type – It’s important to consider the joint type of the boards when edging them. For example, if you’re edging a butt joint, you’ll want to use a glue that’s designed for butt joints.
Conclusion
– Plan ahead – It’s important to plan ahead. You don’t want to start edging your boards only to realise that you’re missing a crucial tool or piece of equipment. This will only result in frustration and delays. – Match the edging to the boards – It’s important to match the edging to the boards. For example, if you’re edging pine boards, you’ll want to use a pine edging. – Consider the joint type – It’s important to consider the joint type of the boards when edging them. For example, if you’re edging a butt joint, you’ll want to use a glue that’s designed for butt joints.


